Team Buddies Remake Project
This is by far my longest passion project; Team Buddies is a PS1 game from my childhood that basically kindled my entire programming career and made me wish for a game dev path.
Platform
PC
Engine
Unity 4, Unity 5, Unreal Engine 4
Release Date
Abandoned
Technologies Used
This is by far my longest passion project; Team Buddies is a PS1 game from my childhood that basically kindled my entire programming career and made me wish for a game dev path. I wanted to “create more fun games for other kids”. Eventually I decided I would try my hand at remaking the core gameplay mechanics, to see how difficult it would have been.
Not that much, actually! This video shows my first cool looking stage of the project, with an unpolished crate stacking system like the original game’s. This system was a bit hardcoded though, and had a whole bunch of if statements.
Eventually I added a little more polish, but really just a little. Just to give it a slightly more complete demo feel. A friend of mine joined me and blocked out the map for me, who later on went to join the Project Zomboid team first as community manager, and later on as programmer. Here you can also see a basic health system and weapon system. AI was not added in yet, but you can see that uncontrolled Buddies are able to pick up weapons; a sign that they merely are uncontrolled, but not different from the player’s controlled Buddy.
Animations were also slightly polished, letting the picked up crate snap (with the Buddy’s hands too!!!) to the stacking pad slot the crate will snap to, much like the original game. Crate throwing is also working, and the crate snaps on the slot it touches… much like the original game!
This one is a doozy. We started potentially thinking of moving to Unreal Engine, and I set out to create a bitwise optimization of the crafting system, to remove all the hardcoded if statements. If you’ll allow me, I’ll explain you all about it! I should have the paper scribbles I wrote in the kitchen while thinking it out, laying around somewhere. If I find them I’ll update this post.
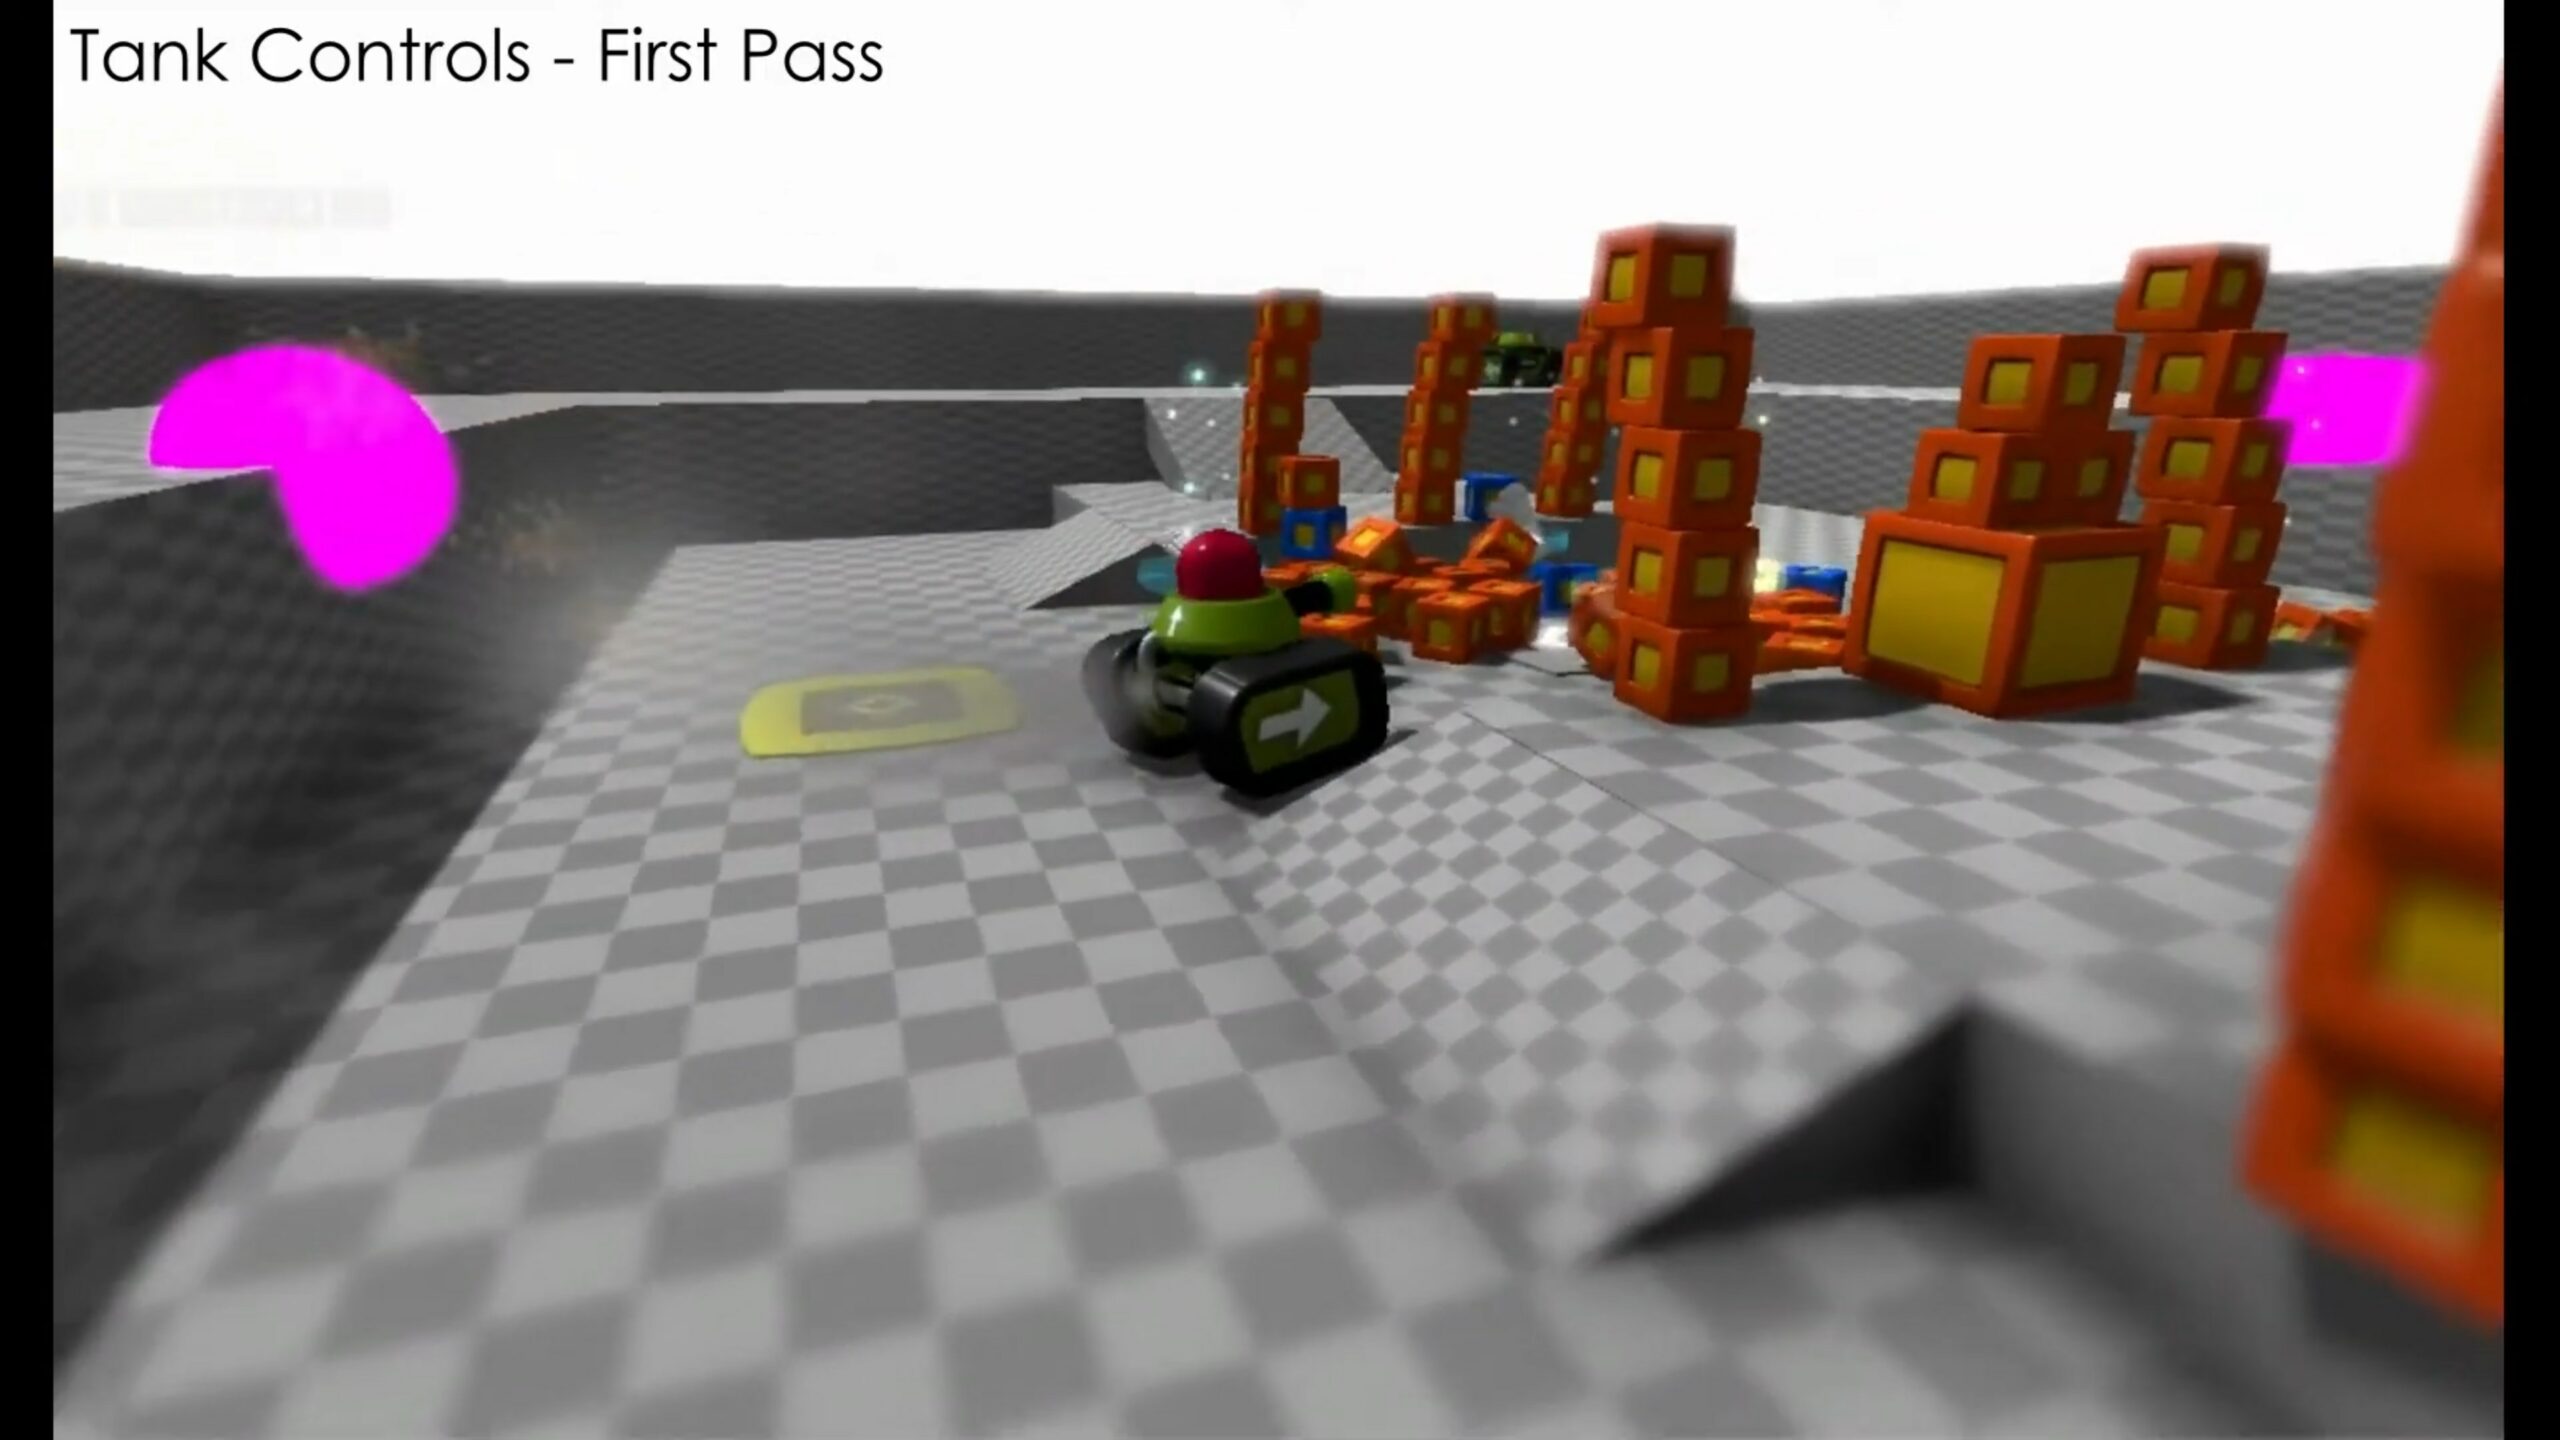
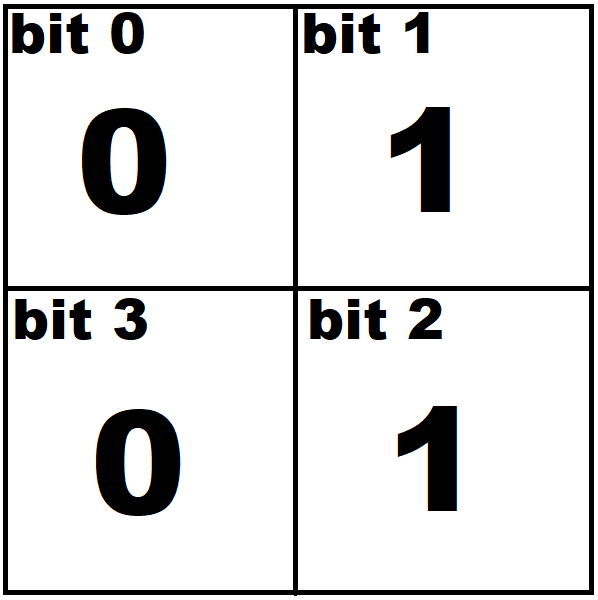
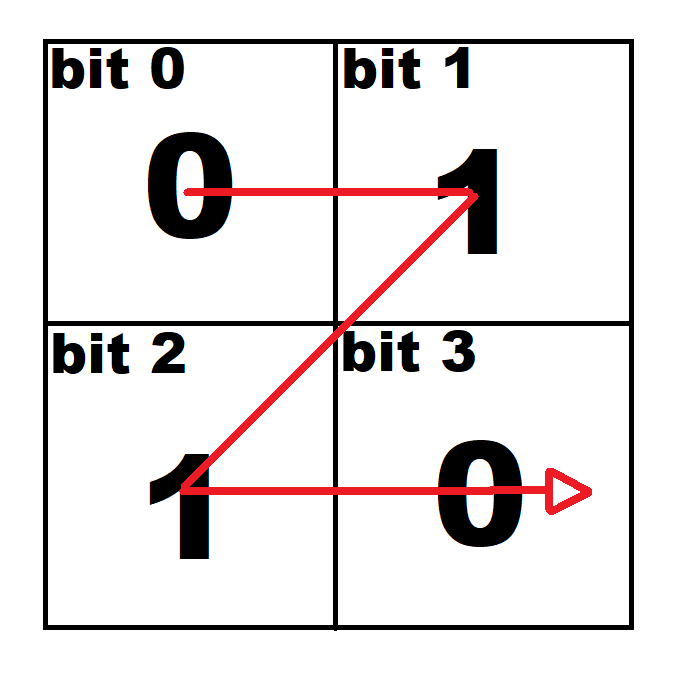
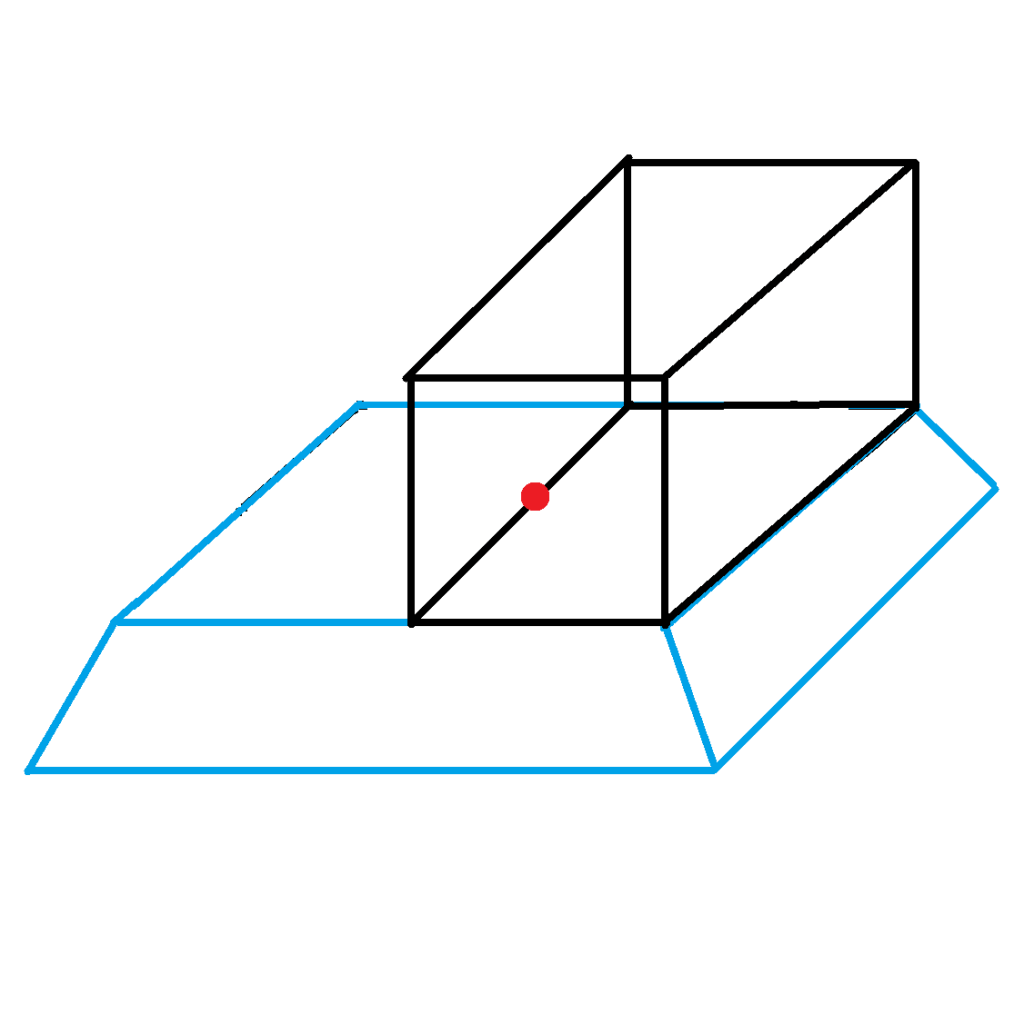
Anyway! So, the pad is a 2x2x2, so it has 8 slots. What else has 8 slots, so to speak? It’s a byte. So here’s what I did: the pad is a byte: 00000000, each 0 representing an empty slot, and 1 representing a full slot. How do I differentiate between top and bottom layer? Fantastic, let me explain.
0000-0000. Leftmost nibble (half byte) represents the top layer, rightmost nibble represents the bottom layer. Each bit in the nibble physically represented a slot on its layer, but it required to be laid out in a specific pattern, demonstrated here.
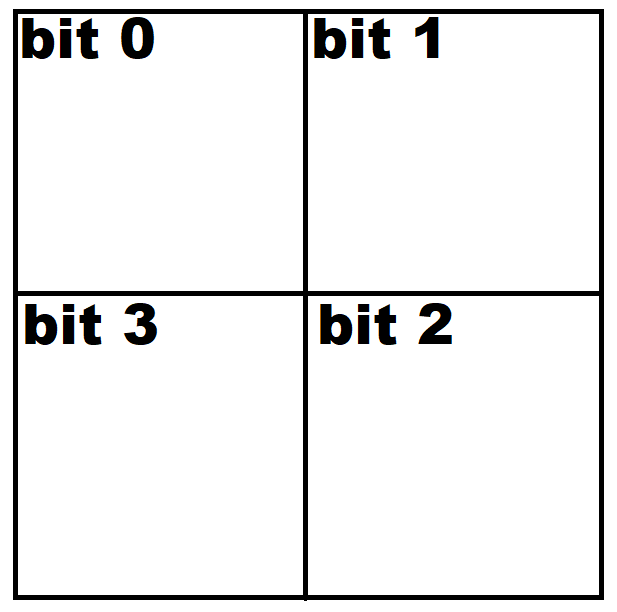
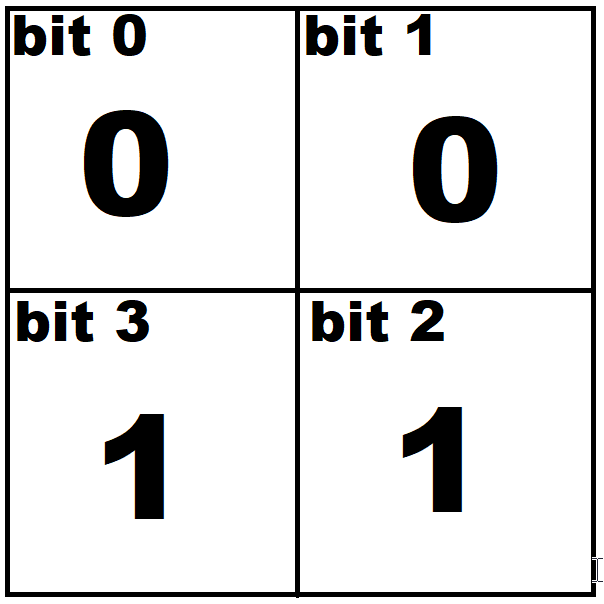
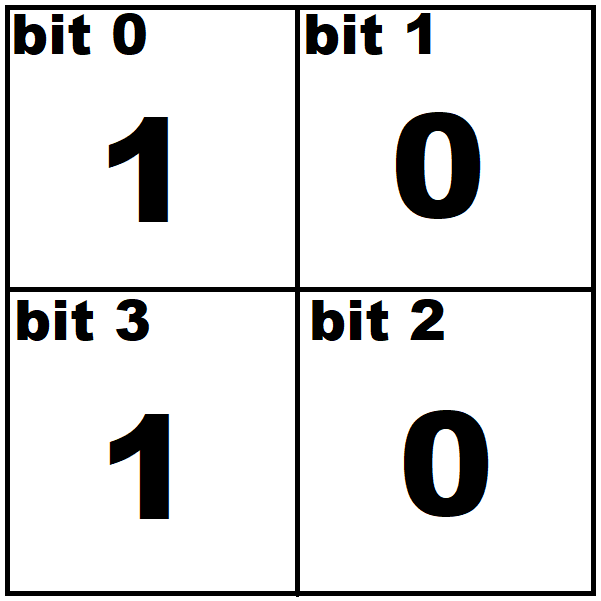
As you can see, bit 0 represents the north west slot, bit 1 represents the north east slot, bit 2 represents the south east slot, and bit 3 represents the south west slot. The same byte encoding is used for the available stacking patterns, for example, let’s assume a two-wide, one-deep, one-tall pattern: 2x1x1
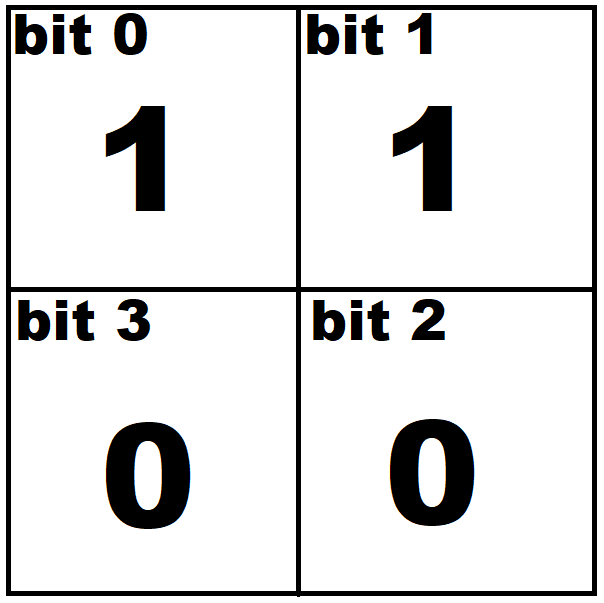
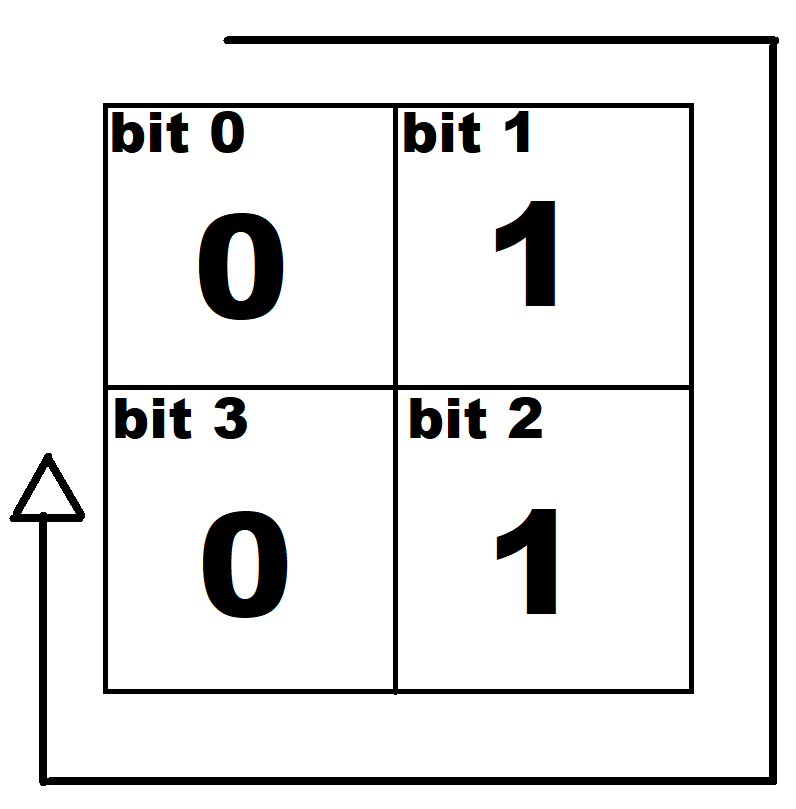
Then, we can compare the stacking pattern with the current value of stacking pad slots byte. Now, naturally, players can stack crates to form this recipe in a different rotation, and that’s where the bit arrangement comes in very handy. If we left shift each nibble individually three times, we can get the four different rotations of the same recipe. For ease of demonstration, I’ll only provide the rotated bottom layer, as the top layer is all 0s.

You might have noticed the third rotation bit 3 should have crossed past the end, since this is achieved through left bitshifting this would normally knock it off to bit 4, past the nibble’s size, so an additional rollover operation had to be implemented so that bits moving past the end would be rewrapped to the first position.
We run this algorithm on all available patterns everytime a crate is added, we also detect any patterns that fully overlap a bigger one so we know we can discard it. On the final valid matched patterns we get how many times each one was rotated to spawn the matching crate in the correct rotation.
Now let’s visualize why the corresponding physical position of each bit is very important, and what problem has been solved by adopting this clockwise grid arrangement compared to the usual expected “Z” arrangement.
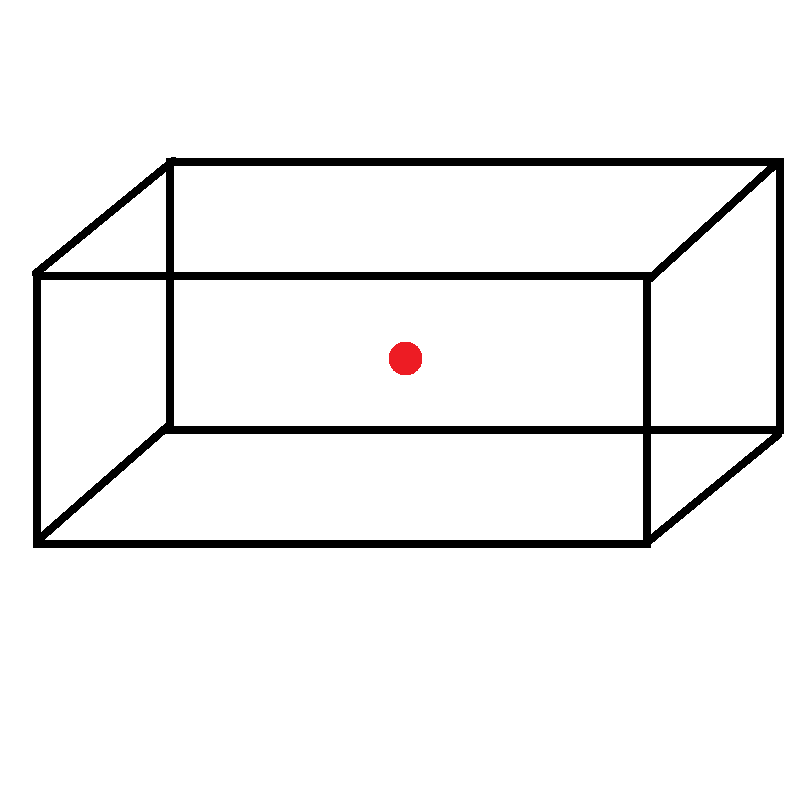
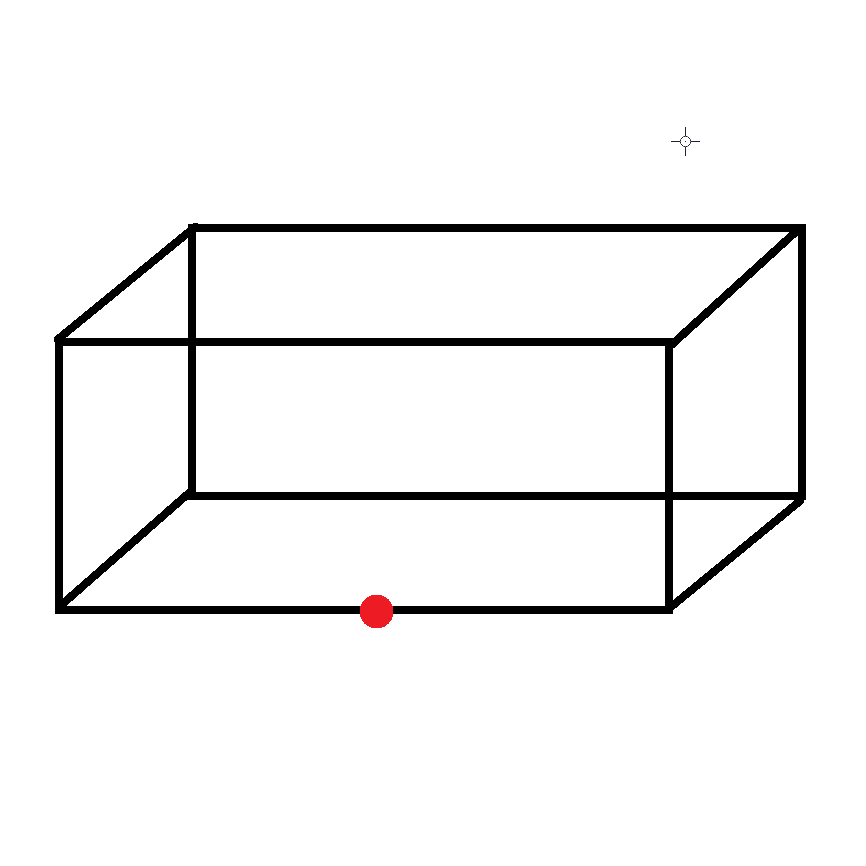
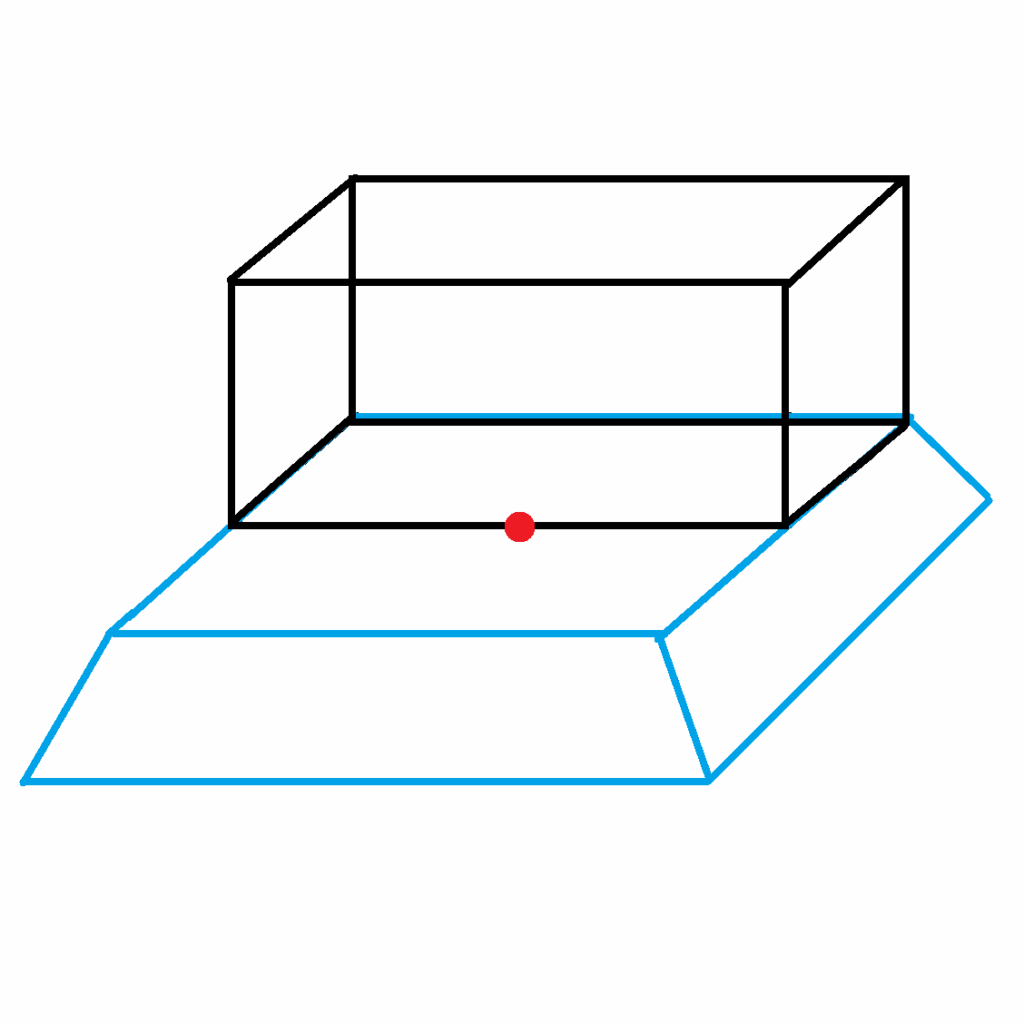
As you can see, the Z arrangement does not reflect a proper rotation right out of the box, and instead of adding extra steps to fix this, it’s much better to just adopt a different bit-to-slot mapping. Naturally, another thing worth mentioning is that the crate model’s origin is aligned with what would be the center of stacking pad’s surface, which is also the stacking pad model’s origin. This way, we can just spawn it in the exact location of the pad, which also has its origin placed in the center of its stacking surface, worrying only about the rotation. This saves us a lot of offset calculations.
Now that all of that is said… we ended up deciding to go back to Unity, and we made a bunch more progress. However, we were worried about obviously not being able to publish this project, since anyway the IP eventually passed on to Sony, and it wasn’t like a completely dead game with a lost IP or anything… and wouldn’t be for quite a while!
And then we kinda gave up!